How to make covered buttons

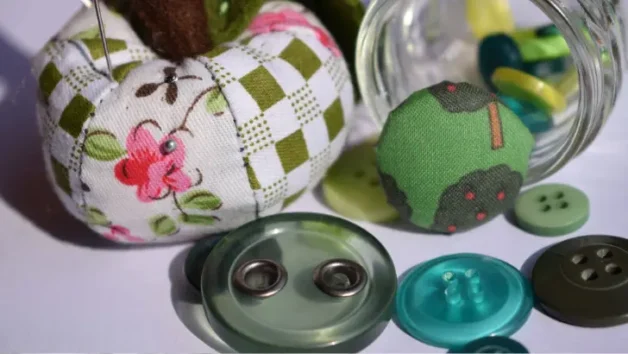
Ever wondered how to make covered buttons? They are easier then you think. A fantastic way to upcycle and outfit and bust your stash of scraps of fabric. You can even use your embroidery on them!

This is a lovely way to use up your scrap fabric and create wonderful small ways to customize your clothes and accessories. Follow my tutorial for how to make covered buttons and you’ll never fasten your clothes in the same way again!

Covered button kits normally come in two types. You can buy them in all manner of sizes suitable for any sewing project. Metal ones normally have teeth to help pull the fabric tight and are therefor more suitable for heavier fabrics, plastic ones can be used with a wider variety of fabrics.
Both are very easy to use.
On the back of the button pack is normally a template guide for you to cut the correct sized fabric for the button you wish to cover. Use the template and draw onto the reverse of your fabric and then cut out your circles.
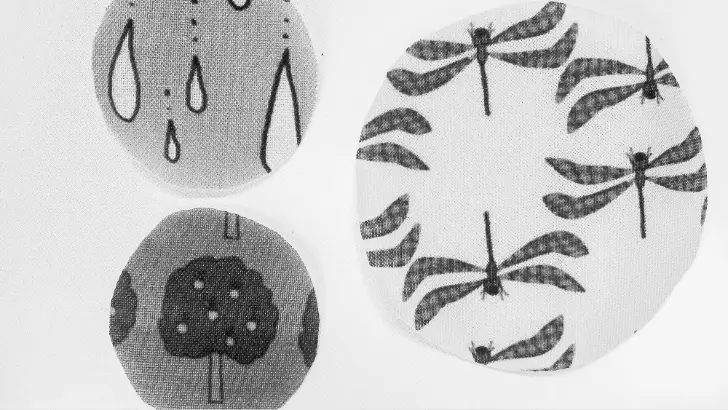
I have chosen three designs from my Spoonflower shop. These are printed onto lightweight cotton.

To cover the metal button place the button front into the center of the fabric and pull the fabric taught over the button using the teeth to secure the fabric.

Once the button is covered check you have no creases on the front of the button.

Then push the metal back plate over the shank to secure the fabric.
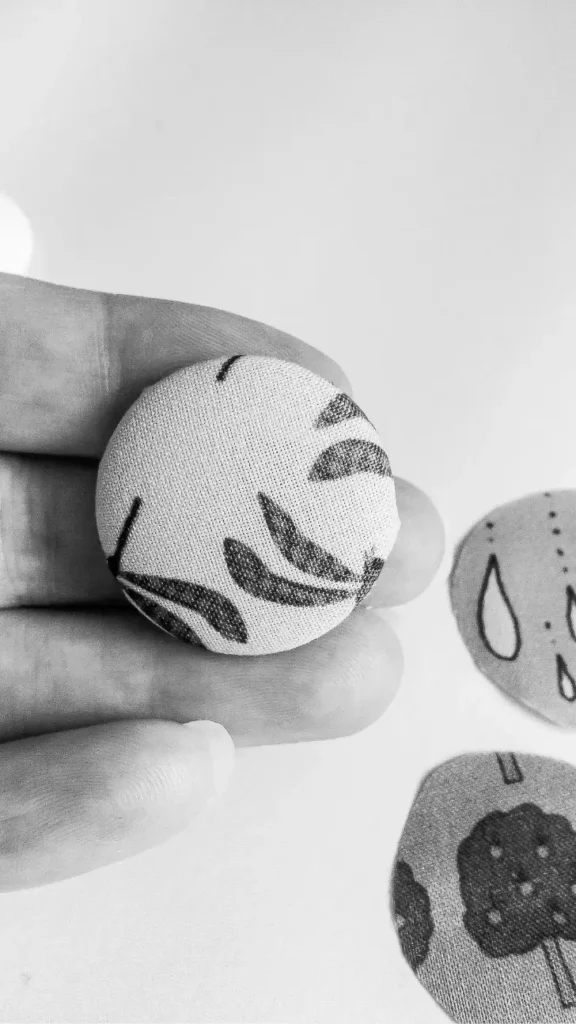
Easy as pie!
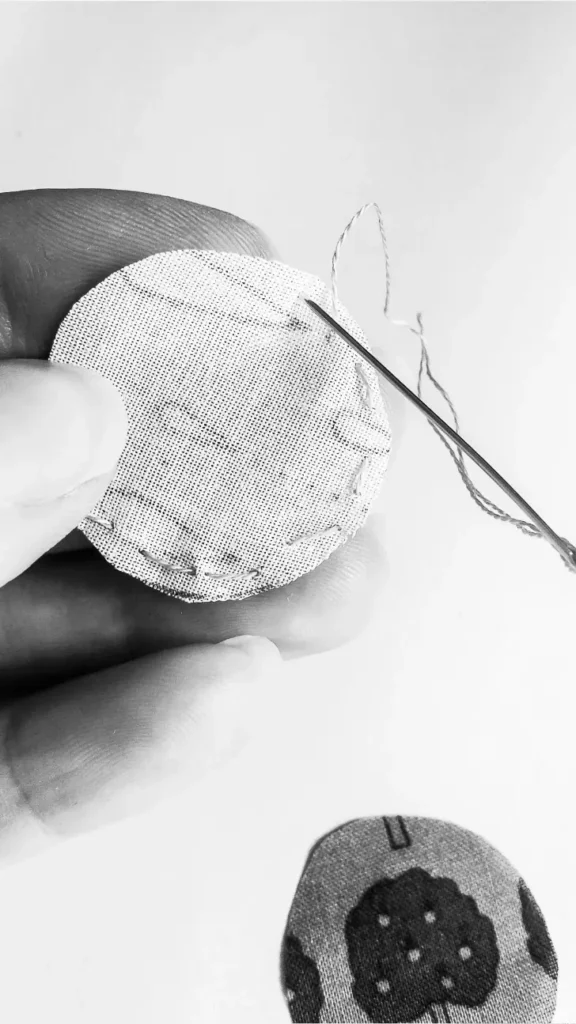
To cover the plastic button, first sew a running stitch around the outer edge of the fabric.
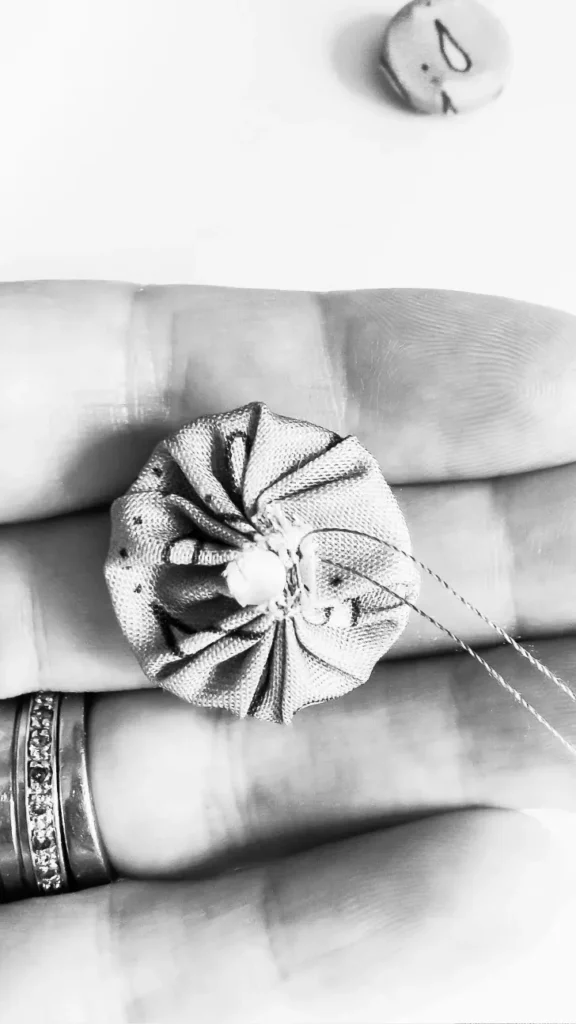
Place the plastic button front in the center of the fabric and gather the stitches pull tight. Secure with a knot and snip off the loose threads.

Making sure there are no creases in the front, push on the plastic back of the button to secure.
This is a great little make and a whole load of buttons can be whizzed up in no time.
Now I have lovely buttons, I just need to sew something for them to go on!